
How Many Square Inches of Ventilation Are Required for an Outdoor Island?
Determining how many square inches of ventilation are required for an outdoor island is a critical safety step for any backyard project. Because liquid propane is heavier than air, any leak can lead to a dangerous buildup of gas inside your masonry or metal structure. Proper airflow prevents these hazardous pockets, ensuring your cooking space remains safe for family and friends.
By calculating your specific needs, you can easily avoid potential fire risks while maintaining compliance with standard safety regulations. Understanding these requirements helps you design a functional outdoor kitchen that is both durable and secure for years of regular use.
The industry standard for safety, as outlined by the National Fire Protection Association, requires a minimum of 20 square inches of ventilation for every 20 square feet of enclosed island space. To reach this figure, you must calculate the total interior volume of your island enclosure. If your structure is 40 square feet, you need at least 40 square inches of total vent area.
This total must be split between intake vents located near the bottom of the island and exhaust vents placed near the top. Always prioritize the lowest point of the enclosure, as propane settles at the floor level before it can dissipate.
Calculating Your Specific Ventilation Needs
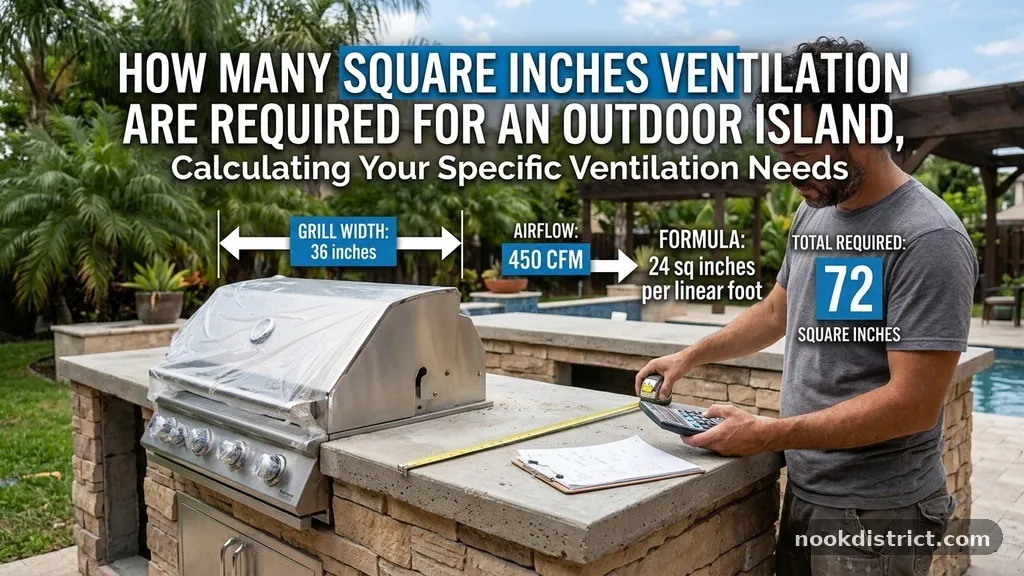
To determine the exact amount of ventilation needed, start by measuring the length, width, and height of your island’s interior cavity. Multiply these dimensions to find the total cubic volume, but focus primarily on the floor area for gas dissipation purposes. Most professional installers recommend a 1:1 ratio, meaning for every square foot of base area, you should provide at least one square inch of net free air.
If your island has multiple compartments separated by solid walls, treat each section as an independent zone. Each zone requires its own dedicated intake and exhaust setup to ensure air does not become trapped in a dead corner.
Always account for the hardware and appliances installed within the island frame. A large built-in grill or a side burner creates its own footprint, which might obstruct airflow if not planned correctly. When you account for the space taken up by gas lines, electrical conduits, and structural supports, the “net free” area of your vent can decrease.
Net free area is the actual open space through the vent cover, excluding the grill or louvers that block air movement. If a vent panel has a decorative mesh, subtract about 30% to 50% of the total surface area to get an accurate measurement of the airflow.
Understanding Net Free Area
Many homeowners mistake the size of the vent cover for the actual ventilation capacity. A vent cover might measure 6 by 10 inches, providing 60 square inches of total surface, but the slats or mesh reduce that significantly. You must look for the manufacturer’s specified net free area rating on the product packaging.
If that information is unavailable, assume the open area is only half of the total dimensions. This conservative approach ensures you remain well within safety margins even if your calculation is slightly off.
When choosing vent materials, opt for stainless steel or high-grade aluminum to prevent corrosion in outdoor environments. These materials maintain their structural integrity even when exposed to high heat from the grill or the moisture of a rainy season. Avoid plastic or low-quality composite vents, as they can warp over time, effectively sealing off the airflow you worked so hard to establish.
Installing vents that are easy to remove or clean is also a smart move, as dust and debris can clog the openings over several seasons. Regular maintenance keeps your ventilation system performing as intended.
Positioning Intake and Exhaust Vents
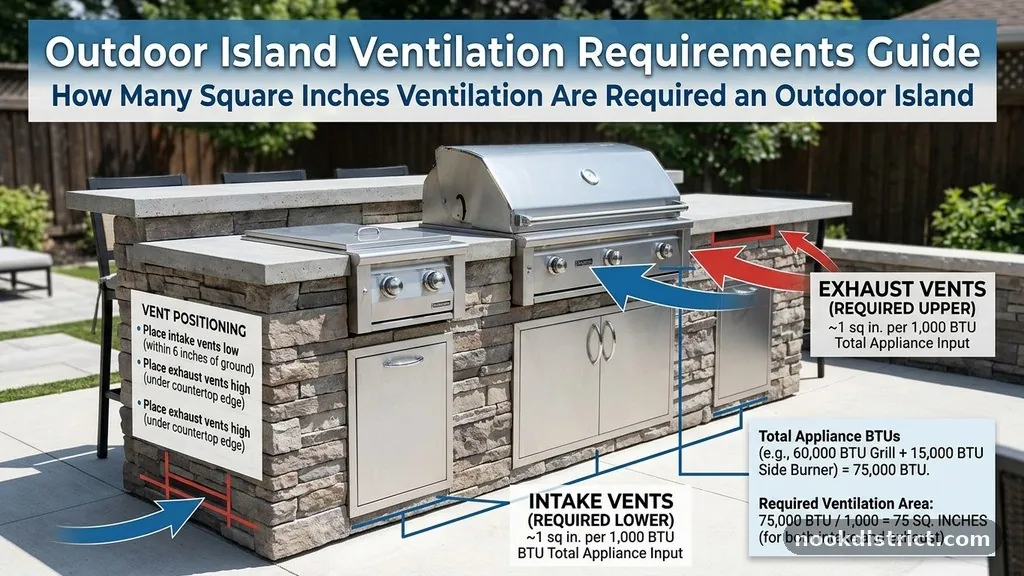
The placement of your vents is just as important as the total square inches provided. Propane is heavier than air, so the intake vents must be positioned as close to the bottom of the island as possible. If the vents are placed too high, the gas will pool at the bottom, creating a hidden hazard that could ignite during a grill start-up.
Exhaust vents should be placed near the top of the island to allow hot air and any trace gas to escape effectively. This creates a natural chimney effect that promotes continuous air circulation throughout the enclosure.
Consider the prevailing wind direction in your backyard when finalizing the location of your vents. If you place your intake vents on the side that receives the most wind, you might force too much air into the island, which could interfere with the grill’s burner performance. Conversely, placing them on a sheltered side ensures a consistent, gentle flow.
If your island is positioned against a wall or a fence, ensure there is at least a few inches of clearance to allow the exhaust air to dissipate into the open atmosphere. Blocking the exhaust path defeats the purpose of the venting system.
The Role of Gas Type in Ventilation
The type of fuel your grill uses significantly dictates your ventilation strategy. Liquid propane is the primary concern for ventilation because it settles at the base of the island. Natural gas, on the other hand, is lighter than air and will naturally rise, making it less likely to pool in the bottom of an enclosure.
However, safety codes generally mandate the same ventilation requirements regardless of the fuel type to account for potential leaks in regulators or hoses. Always treat your island as if it contains the most volatile fuel source to ensure maximum safety.
Even if you run natural gas, a leak can still occur at the connection points or within the internal plumbing of the grill. Vents provide a secondary layer of protection that goes beyond just fuel management. They also help reduce the temperature inside the island cabinet, which protects your gas lines and electrical components from heat damage.
Prolonged exposure to high heat can degrade rubber hoses, leading to leaks that wouldn’t have occurred otherwise. Proper airflow keeps the entire internal environment stable and cool.
Comparing Ventilation Methods
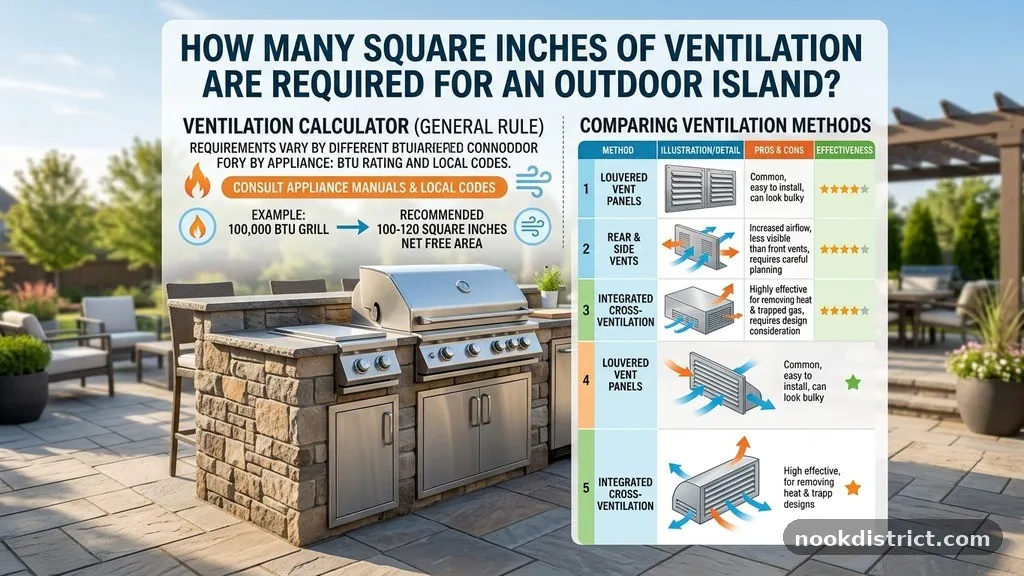
There are several ways to provide the necessary airflow, ranging from simple louvered panels to decorative stone-friendly vent inserts. Choosing the right method depends on your island’s exterior finish and your aesthetic preferences.
Some builders prefer to integrate the vents into the kick plate, while others prefer side-mounted units. The following table highlights common ventilation solutions and their relative effectiveness for standard outdoor kitchen designs.
| Vent Type | Best Application | Efficiency Level |
|---|---|---|
| Louvered Stainless Steel | Standard masonry islands | High |
| Decorative Stone Vents | Stone veneer finishes | Medium |
| Kick-Plate Vents | Low-profile designs | High |
| Mesh Screen Gaps | DIY frame structures | Low |
Each of these options serves a specific purpose, but you must ensure the total net free area meets the required square inches for your specific island size. If you choose a decorative vent with limited openings, you may need to install more units to compensate for the restricted flow.
Never prioritize the look of the vent over the safety capacity. A well-designed outdoor kitchen integrates these safety features into the overall aesthetic, making them look like a deliberate design choice rather than an afterthought.
Common Mistakes in Island Ventilation
One of the most frequent errors is assuming that a “gapped” door or a loose-fitting access panel provides enough ventilation. While these gaps might allow some air to move, they are not a reliable substitute for engineered vent panels. Gaps can be obstructed by debris, leaves, or even insects building nests, which creates a false sense of security.
Always install dedicated, permanent vents that are designed for exterior use. These units are built to withstand the elements and maintain their open area over time.
Another mistake is failing to account for internal partitions. If your island is divided into separate cabinets for a fridge, a grill, and storage, each cabinet needs its own ventilation. A single vent on the outside of the island does nothing for an internal cabinet that is walled off.
You must either provide vents for each compartment or use internal venting to allow air to pass between sections. If you choose the latter, ensure the total net free area still meets the overall requirements for the entire structure.
Why Professional Compliance Matters
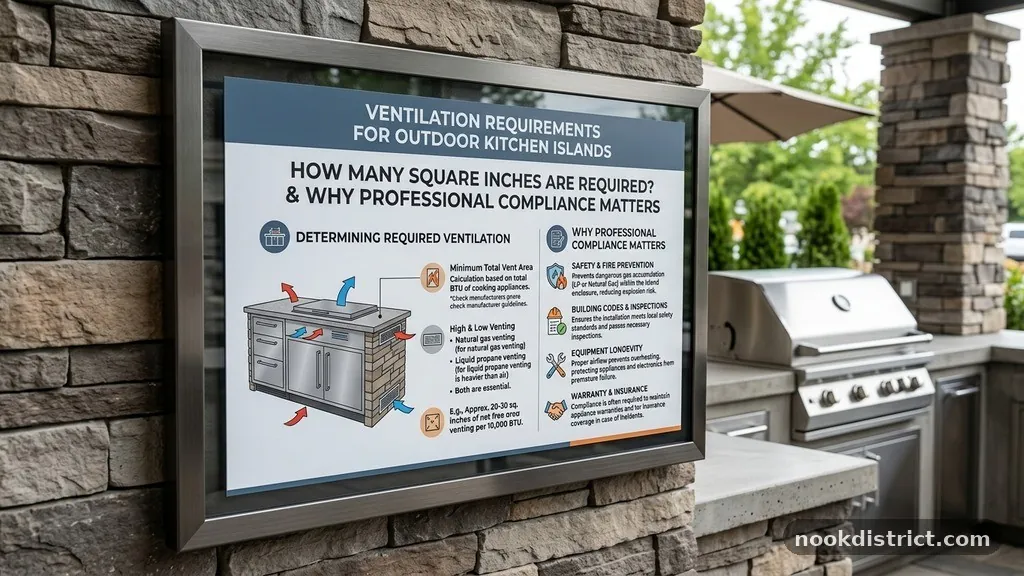
Following local building codes is not just about passing an inspection; it is about protecting your home and your family. Most municipalities have specific requirements regarding how many square inches of ventilation are required for an outdoor island, often referencing the NFPA 58 code.
If an accident occurs and your island was not properly vented, your insurance provider may deny a claim. Professional installers are trained to calculate these values and ensure the installation meets the legal standards of your jurisdiction.
Working with an experienced contractor can save you from costly rework down the line. If you build an island without proper venting and a later inspection flags it, you might have to cut into finished stone or stucco to add the necessary components. This is messy, expensive, and rarely looks as good as an integrated installation.
Plan for your ventilation needs during the framing stage of your project. It is much easier to install a vent frame before the finish material is applied to the exterior.
Maintaining Your Ventilation System
Once your vents are installed, your job is not finished. Seasonal maintenance is required to ensure the vents remain clear and functional. In the autumn, leaves and debris can easily clog intake vents, especially if they are located near the ground.
Check your vents at the start and end of every cooking season to ensure there are no obstructions. A simple vacuum or a quick wipe with a damp cloth is usually enough to keep them clear.
If you live in an area with a high insect population, consider installing a fine stainless steel mesh behind the vent slats. This prevents bees, wasps, or spiders from building nests inside your island cavity. While this mesh will reduce the net free area slightly, it is a necessary compromise for some climates.
Just remember to adjust your total vent count upward to compensate for the added restriction. Keeping the airflow path clear is the most important part of long-term safety.
Planning for Future Upgrades
When you design your outdoor kitchen, think about potential future additions. If you plan to add a second grill, a pizza oven, or a gas-powered searing station, you will increase the gas load and the heat output of your island. It is always better to over-ventilate than to under-ventilate.
Adding an extra vent now is a negligible cost compared to the peace of mind it provides. You should aim to have at least 20% more ventilation than the bare minimum requirement to account for these future changes.
Consider the long-term durability of your island frame as well. If you are using metal studs, ensure they are galvanized to prevent rust. If you are using wood, ensure it is pressure-treated and properly sealed.
Ventilation helps keep the interior dry, which prevents rot in wooden frames and corrosion in metal ones. A well-ventilated island is not just a safer island; it is a longer-lasting one that will look better for years to come.
Frequently Asked Questions
Do I need vents if I use natural gas instead of propane?
Yes, most safety codes require ventilation regardless of the fuel type. While natural gas is lighter than air, you still need to prevent the accumulation of any leaking gas and manage heat buildup inside the enclosure. Proper ventilation is a standard safety requirement for all enclosed gas-fired outdoor appliances.
Can I just leave gaps in the stone veneer for ventilation?
While some builders do this, it is not recommended for safety or structural reasons. Gaps in the stone are unpredictable and can be easily blocked by debris or mortar. It is much safer to use manufactured vent panels that provide a guaranteed, consistent net free area for airflow.
How many vents should I install if my island is large?
The number of vents depends on the total volume of your island. Calculate the square footage of the base and provide at least one square inch of net free area for every square foot. If your island is very long, it is better to distribute smaller vents along the length rather than one large vent in the center.
Where is the best place to put the exhaust vent?
Exhaust vents should be placed as high as possible on the island, ideally near the countertop line. This allows hot air and any gas that has risen to escape effectively. Pairing these with intake vents at the bottom creates a natural airflow that keeps the interior clear.
What happens if my vents get clogged?
If your vents are clogged, you lose the ability to dissipate leaked gas or heat. This creates a significant fire and explosion hazard, especially if a small leak goes unnoticed. Regularly inspect your vents to ensure they are free of leaves, dust, and insect nests.
Conclusion
Designing a safe outdoor cooking space requires careful attention to the details of airflow and gas management. By calculating exactly how many square inches of ventilation are required for an outdoor island, you take a proactive step in protecting your property.
Remember that the goal is to provide a clear path for air to enter at the bottom and exit at the top, preventing any dangerous accumulation of fuel. Always check your local building codes to ensure your plan meets regional safety mandates before you begin construction.
If you find yourself uncertain about the math or the placement of your vents, consult with a professional grill installer or a local gas technician. They can provide a site-specific assessment that ensures your outdoor kitchen is built to the highest safety standards.
Taking the time to get the ventilation right now will allow you to enjoy your backyard space with total confidence. Start your project by measuring your footprint and selecting durable, high-quality vents that will stand the test of time.